Choose
PROCESSES
TECHNIC
Maximum quality assurance through Non-destructive and destructive testing methods
On the one hand, we use non-destructive testing to weed out components with defects. On the other hand, we thus ensure the quality of all components in operation.
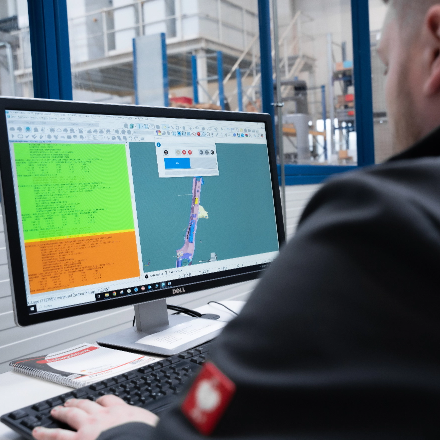
In ongoing series production, the quality of the components is ensured by means of monitoring, including robot-assisted measurements with 3D laser scanning. The Perceptron automated metrology solution makes it possible to maintain, correct, check and control the manufacturing quality immediately and at any time, at full production speed and without touching the component.
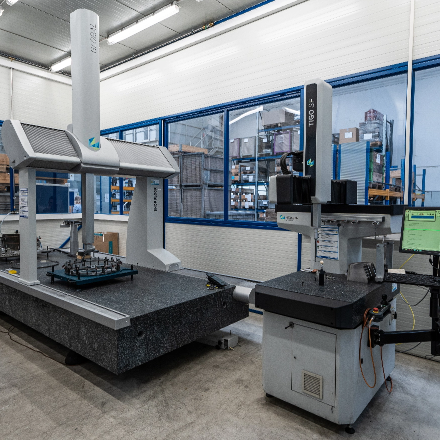
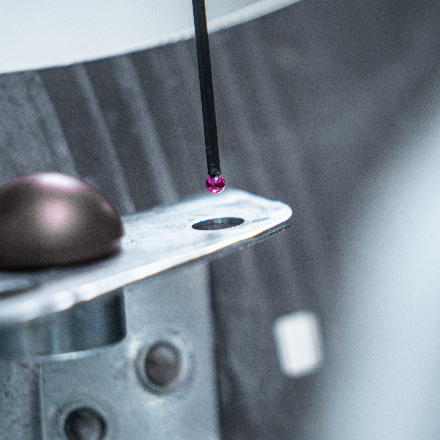
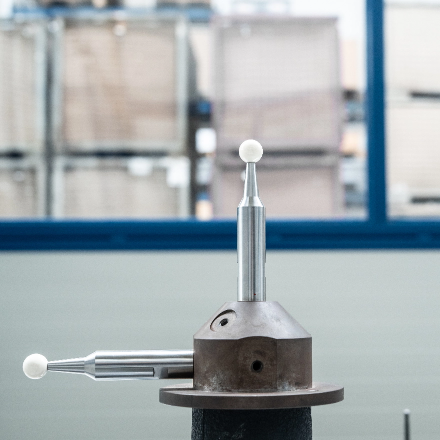
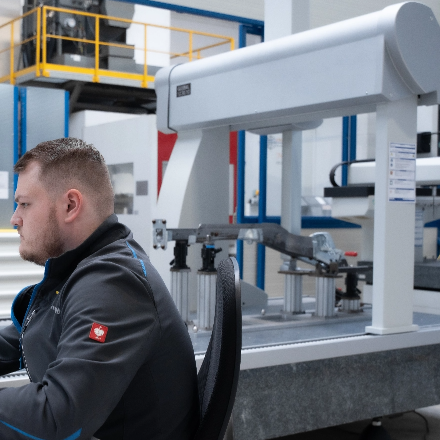
We also use ultrasonic testing and SmartRay for weld monitoring and various Hexagon measuring machines to measure components and eliminate deviations.
For destructive testing, we work with out-of-specification testing, cutting, press-out force testing, and examination of ground samples using a microscope.
- Inline measurement technology Perceptron for robot-assisted measurements with 3D laser scanning
- SmartRay for weld seam monitoring by non-contact visual 3D inspection
- Ultrasound to determine the location as well as the size of the defect in the component
- Other destructive methods for inspection by microscope
Technical features
Ultra sonic
Lamination tests, wall thickness measurements and weld seam tests in the industrial sector
Perceptron
SmartRay
100% inline inspection,
3D laser scanning
DEA Measuring machine
Table size max. 1.200 x 850 mm
Microscope
Material / Flexibility
Ultra sonic
Metals, castings, plastics, rubber, ceramics and composites
Perceptron
no restrictions
SmartRay
no restrictions
Microscope
no restrictions

References
